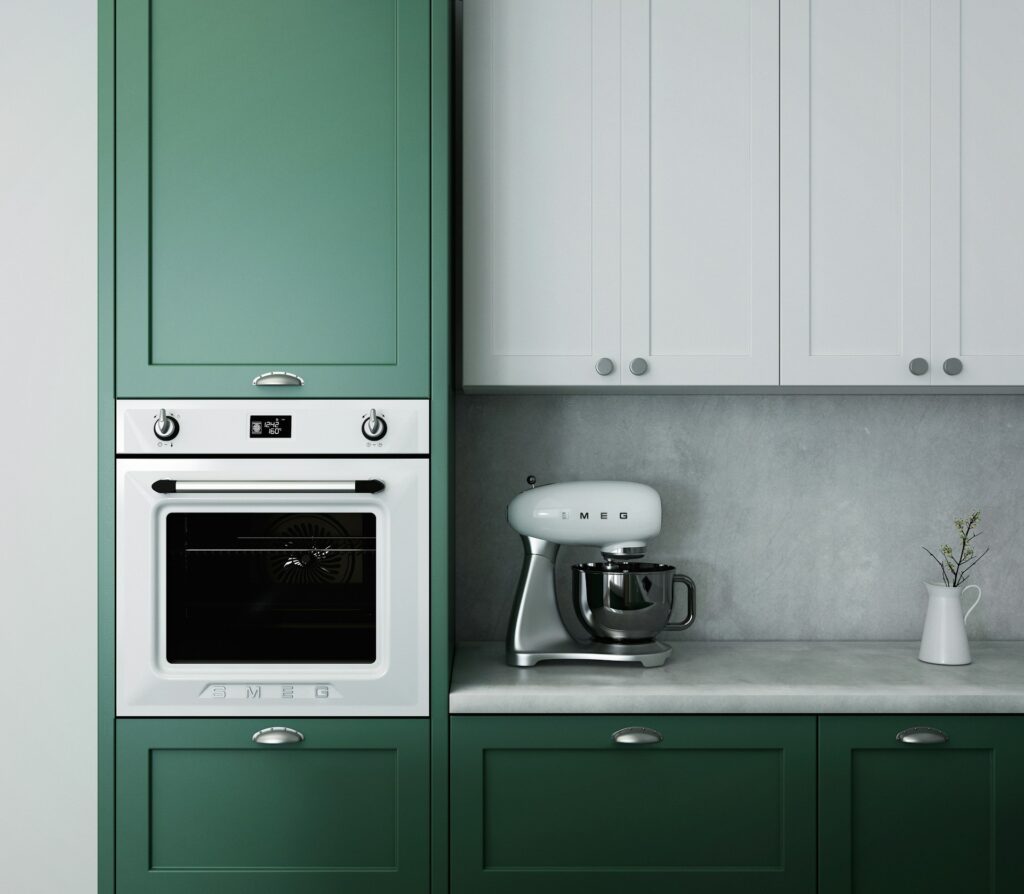
How to Troubleshoot Common Oven Problems
When your oven starts acting up, it’s easy to assume the worst. A burnt lasagne or a half-raw chicken can throw everything off and leave you second-guessing what went wrong.
But before you panic or start blaming the recipe, take a moment. Most issues are smaller than they seem and easier to catch than you’d expect.
You just need to know where to start, and no, it doesn’t have to be rocket science. Just trust yourself, and follow our tips closely. Are you ready? Let’s begin!
Don’t Ignore the Signs
Before you grab a screwdriver or start blaming your unit, slow down and pay attention to what it’s trying to tell you.
Is the temperature swinging wildly? Are your chips half-burnt, half-raw? Is there a strange noise coming from the back? These little signs are often your oven’s way of asking for help.
Take note of anything odd. It might feel unnecessary in the moment, but jotting down signs, like longer cooking times, uneven heat, or mysterious clicks, can save you a lot of second-guessing later.
Once you’ve got a list, dig out the manual. It’s not exactly bedtime reading, but it’s more helpful than you’d think. Most manuals have a troubleshooting section that connects your symptoms to likely causes. It can also tell you which parts to check first, before you call in the cavalry.
Check the Power Supply
Before you assume the worst, check that your oven is actually getting power. It sounds obvious, but loose plugs, worn cords, or tripped circuit breakers are easy to miss and often the real culprits behind a ‘broken’ oven.
Inspect the Power Cord and Plug
Look behind your unit and check the power cord for any visible damage. If it’s bent, frayed, or loose in the socket, that could be your problem right there, especially if you’ve moved your oven recently.
If something looks off, don’t ignore it. A dodgy cord can mess with performance or cut power entirely.
Look at the Circuit Breaker
Next, head to your home’s switchboard and see if the circuit has tripped. If it has, reset it and see what happens. Just make sure you figure out why it tripped to stop it from happening again. You could be dealing with a larger electrical issue.
Test the Outlet
If your oven plugs into a standard socket, try plugging in another appliance to see if the outlet is working. No power? Then, it’s time to call an electrician. If it works fine, it’s your oven that’s acting up, not the outlet.
Rule Out Loose Wiring
If your oven’s hardwired, make sure the connection is still secure. Loose wiring doesn’t just cause faults—it can be dangerous. Unless you’re confident working with wires, leave this part to the pros.
Reset Your Oven’s Settings
Before you assume the oven is broken, double-check the settings. It sounds basic, but you’d be surprised how often a stray button press causes the whole thing to stop responding.
Maybe the timer is on, the delay start is activated, or the oven is set to a mode you didn’t mean to choose. It happens to everyone, especially with modern models that come with way too many buttons.
If something looks off, grab the manual. It’ll usually explain how to cancel those functions or reset the settings. Still not working? Try switching your oven off and on at the wall. A quick reset often does the trick.
Inspect the Heating Elements
If your oven isn’t heating properly or cooking your dishes unevenly, the elements might be to blame. They’re the metal strips that glow red when hot, and if they’re damaged, your food won’t cook the way it should.
Take a close look. Any cracks, blisters, or odd discolouration usually means something is wrong. If you spot damage, the element probably needs replacing.
If you’re handy with basic tools, you can test the elements with a multimeter. You don’t need to be an expert. In fact, there are plenty of step-by-step guides online to walk you through it.
Clean Your Oven
When grime builds up, it compromises the heat, causes burnt spots, and makes everything smell like last week’s dinner. That’s why regular maintenance is so important in the first place.
To sidestep this, take a look at the oven floor and around the heating elements, where grease and food tend to collect. Left too long, those bits start to smoke, stink, or ruin the taste of whatever you’re cooking.
You don’t need anything fancy. Mix some sodium bicarbonate with vinegar, and let the paste foam away the mess. It’s gentle on your oven and tough on grime.
Also, instead of letting splatters build up, clean them once your unit cools. That one habit will save you a lot of grief down the line—no elbow-deep scrubbing required.
If the mess is beyond you or you’re just pressed for time, booking a home oven cleaning service is always an option. They’ve got the tools and the patience to deal with the worst of it.
Seal the Deal
The seal around the edge is what keeps the heat in, and even small tears can throw everything off.
So, have a look along the inside edge of the door. If you spot any cracks, gaps, or sagging, it’s time to take action.
Clean any grime with a damp cloth so the seal can sit properly, then close the door and check for any gaps. If it doesn’t close snugly, the seal probably needs replacing.
You can usually order a replacement seal online using your oven’s model number. Before installing it, though, let it sit in the sun or warm it up slightly to make it more flexible and easier to fit.
Just avoid slamming the oven door, especially after cleaning or repairs, as it can strain the seal over time. And if you’re unsure whether the seal is still doing its job, slide a sheet of paper into the door and close it. If you can pull it out easily, the seal’s not tight enough.
Conclusion
You don’t need a fancy toolbox and a tradesman on speed dial to keep your oven in line. A little curiosity, a few checks, and you’re halfway there.
So, don’t wait for the next burnt-bottom disaster before you take a look. Your oven will thank you with perfectly cooked dinners.


